

X-ray doors · supplied and shipped
Shielding you can evidence.
Lead-lined doors, leaded frames and vision panels built to the figure your Radiation Protection Adviser issues — configured online, priced in the open, delivered with the paperwork that gets a room signed off.
Shielding, honestly
Most surgeries need less lead than they are sold.
Distance and existing construction do a great deal of the work, and plenty of intraoral rooms need no lead in the door at all. Your Radiation Protection Adviser decides what is required — we build to that assessment and evidence what we built. If the answer is that you do not need a leaded door, we would rather tell you than sell you one.
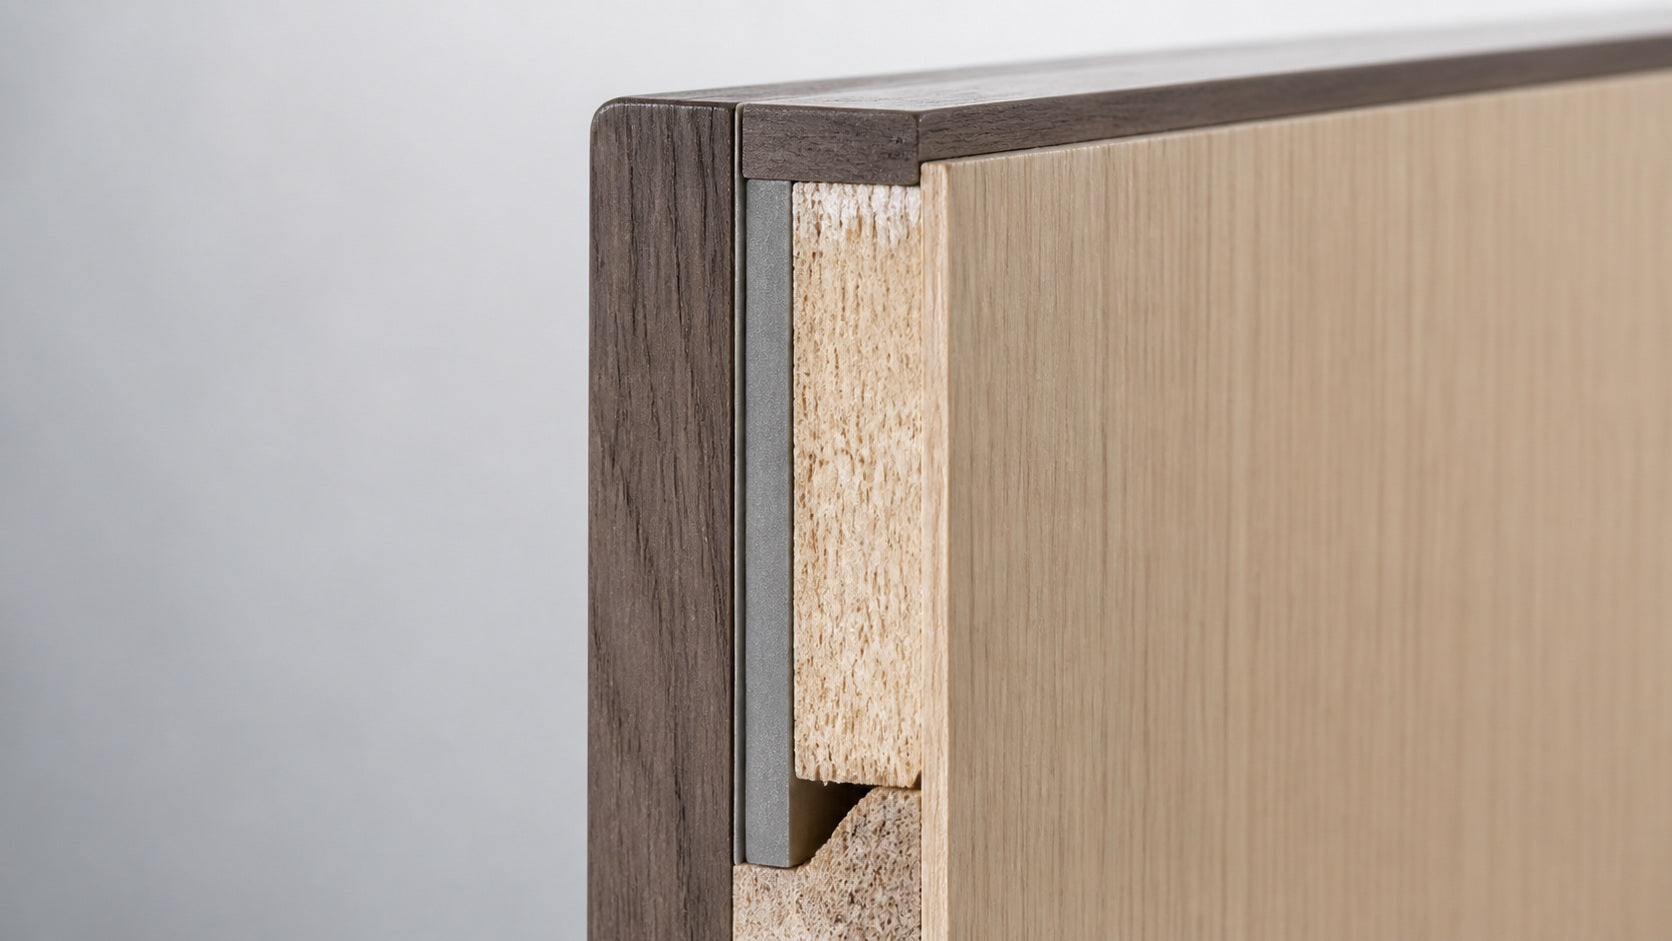
Inside a Cabentra X-ray door
Where doors fail
The join, not the thickness.
Almost every shielded door that fails does so at an edge — lead stopped at the board and never carried into the lipping, or a cut-out drilled straight through the sheet on site. We lay one sheet, take it into the lippings, and patch every cut-out before the ironmongery goes near it.
Compare
What is included as standard.
The difference usually shows up on the day the door is hung.
| Included | Cabentra | Typical supplier |
|---|---|---|
| Single continuous lead sheet No joins unless the leaf size forces one, and a 30 mm lap where it does | Jointed, with no lap specified | |
| Lead carried into the lippings The most common failure on a fitted door | Lead stops at the board edge | |
| Rebated leaded frame, 20 mm minimum overlap So there is no straight line of sight at any point in the swing | Frame supplied unleaded, or with no stated overlap | |
| Cut-outs lead-patched before ironmongery Locks and closers go in after the patch, never through the sheet | Drilled straight through on site | |
| Vision panel with lead behind the beading Glass is only half of a shielded opening | Glass specified, beading forgotten | |
| Hinges rated for the finished weight A Code 3 838 mm leaf is around 55 kg | Standard hinges, then a callback | |
| Survey before manufacture We measure the opening rather than trust a drawing | Ordered from dimensions given over the phone | |
| Fitted by our own team Out of hours can be arranged | Subcontracted |
Cabentra does not advise on radiation protection. Under IRR17 your Radiation Protection Adviser assesses the shielding for a new or modified installation in advance, and the installation is critically examined before clinical use. We build to that assessment and give you a record of what was built.
How it works
From first call to a door you can evidence.
One team from first call to delivery, and to fitting if you want it.
-
The call
Tell us the opening and what your adviser has specified. If there is no assessment yet, that is the call to make before this one — and we will say so.
-
Measure
You send the opening sizes and the existing construction, or we survey as part of a supply-and-install quote. Either way we confirm how the lead in the door meets the shielding in the wall.
-
Drawing
A drawn leaf and frame with the lead line marked, for you and your adviser to approve before anything is cut.
-
Manufacture
Made in our own workshop. Lead laid in one sheet, lippings applied with the lead carried into them, cut-outs patched before ironmongery.
-
Delivery or installation
Delivered by pallet, kerbside or into the room, for your own fitter. Installation by our own team is quoted on request, and out-of-hours fitting can be arranged if the practice is working.
-
Evidence
A record of what was built and where the lead runs, for your critical examination.
Configure your X-ray door
Standard sizes and specifications price instantly and go straight to the basket. Anything bespoke switches itself to a survey — because guessing at a shielded opening is how practices end up paying twice.
-
Built to the drawing
The leaf, the frame and the lead line are drawn and approved before anything is cut.
-
Continuity, not just thickness
Lead into the lippings, a rebated frame with 20 mm overlap, and patched cut-outs.
-
Fitting if you want it
Shipped for your own fitter, or installed by Cabentra teams on a quoted basis.
-
Evidence at handover
A record of what was built and where the lead runs, for your critical examination.
Handover
A room that gets signed off.
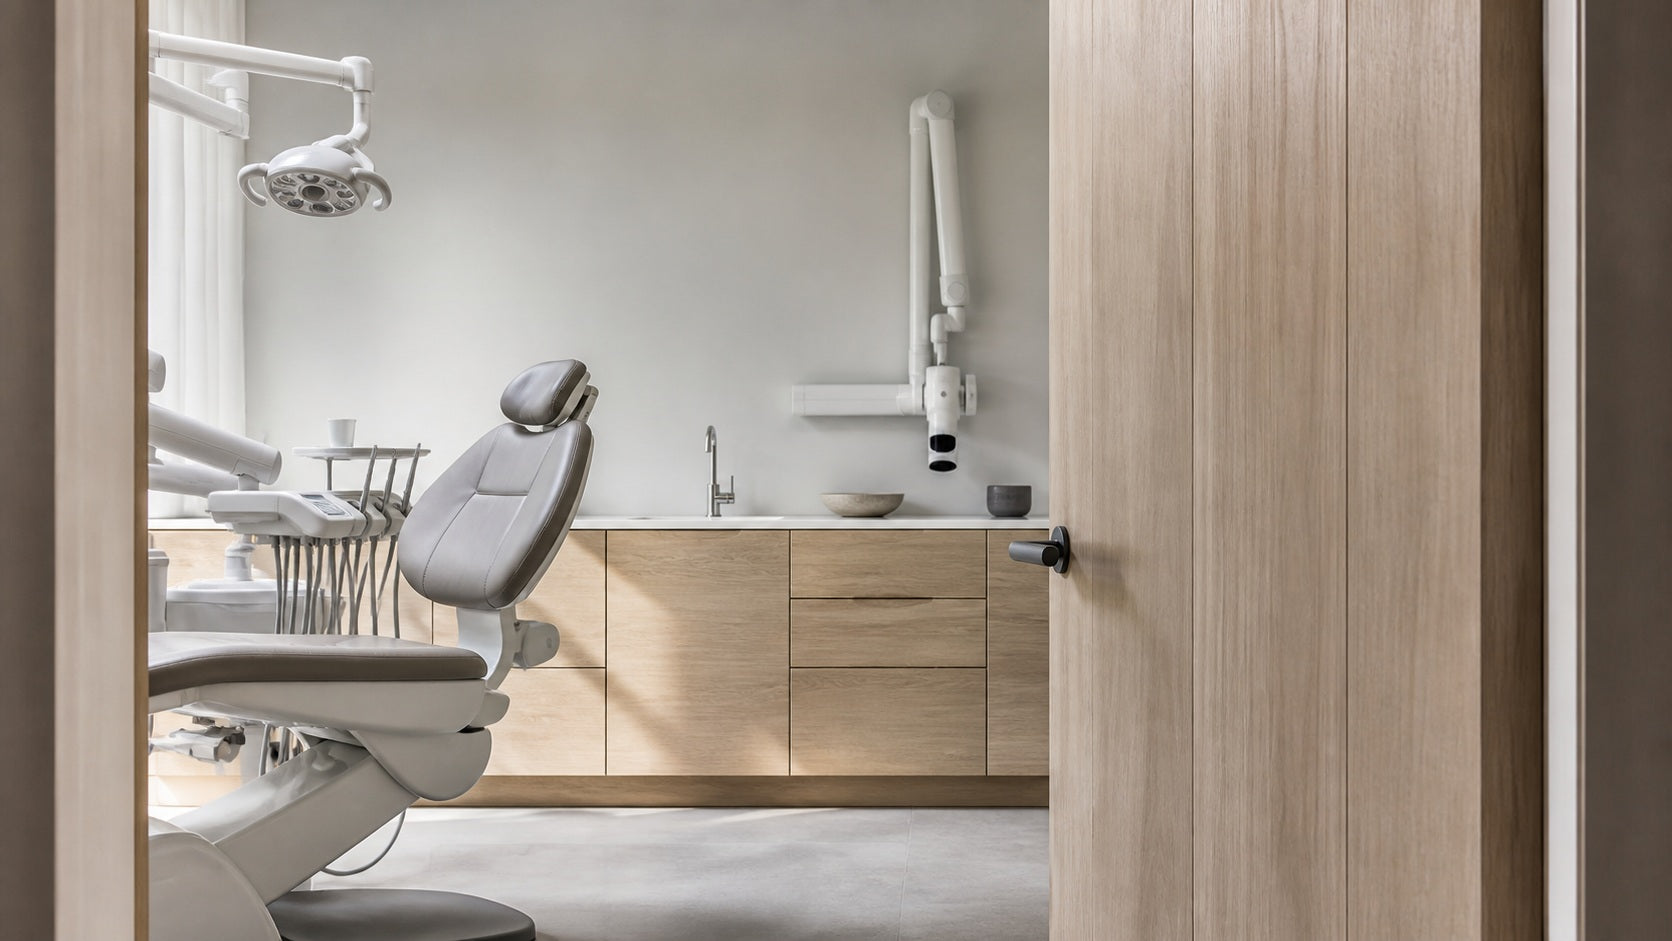
Every door leaves us with a record of what was built and where the lead runs — the document your critical examination asks for. Fitted by your contractor or, by quote, by our own team.
Questions
Asked before every project.
How much lead do we actually need?
Your Radiation Protection Adviser decides that, not us. Under IRR17 the shielding for a new or modified installation is assessed in advance, and we build to what that assessment specifies.
Do all intraoral rooms need a leaded door?
No, and a great many do not. Distance and the existing construction often do the work. We would rather say so than sell you a door you do not need.
What is the difference between Code 3, 4 and 5?
Lead thickness. Code 3 is 1.32 mm, Code 4 is 1.80 mm, Code 5 is 2.24 mm and Code 6 is 2.65 mm. Code 3 is the usual dental specification; Code 4 and 5 appear on CBCT suites.
Where do shielded doors usually fail?
Almost never on thickness. It is continuity — lead stopping short of the lipping, a frame with no rebate overlap, cut-outs drilled through the sheet, or glass with nothing behind the beading. All four are avoidable, and all four are on our standard specification.
How heavy is a leaded door?
A Code 3 838 mm leaf is around 55 kg. That is why we fit a minimum of one and a half pairs of grade 13 ball-bearing hinges rather than a standard set.
Can you match our existing doors?
Usually. Send photographs, or a door, and we will match finish, profile and ironmongery as closely as the materials allow.
Can you work around a live practice?
Yes. Doors ship ready for your own fitter. Where we install, which we quote separately, out-of-hours and phased work can be arranged so the practice stays open.
Start a project
Send us the opening and the assessment.
We will come back with a drawn leaf and frame, the lead line marked, and a costed specification. If the assessment says you do not need a leaded door, we will tell you that instead.
We reply within one working day.